Now Reading: Beginner Gym Workout: A 4-Week Plan for Men and Women
-
01
Beginner Gym Workout: A 4-Week Plan for Men and Women
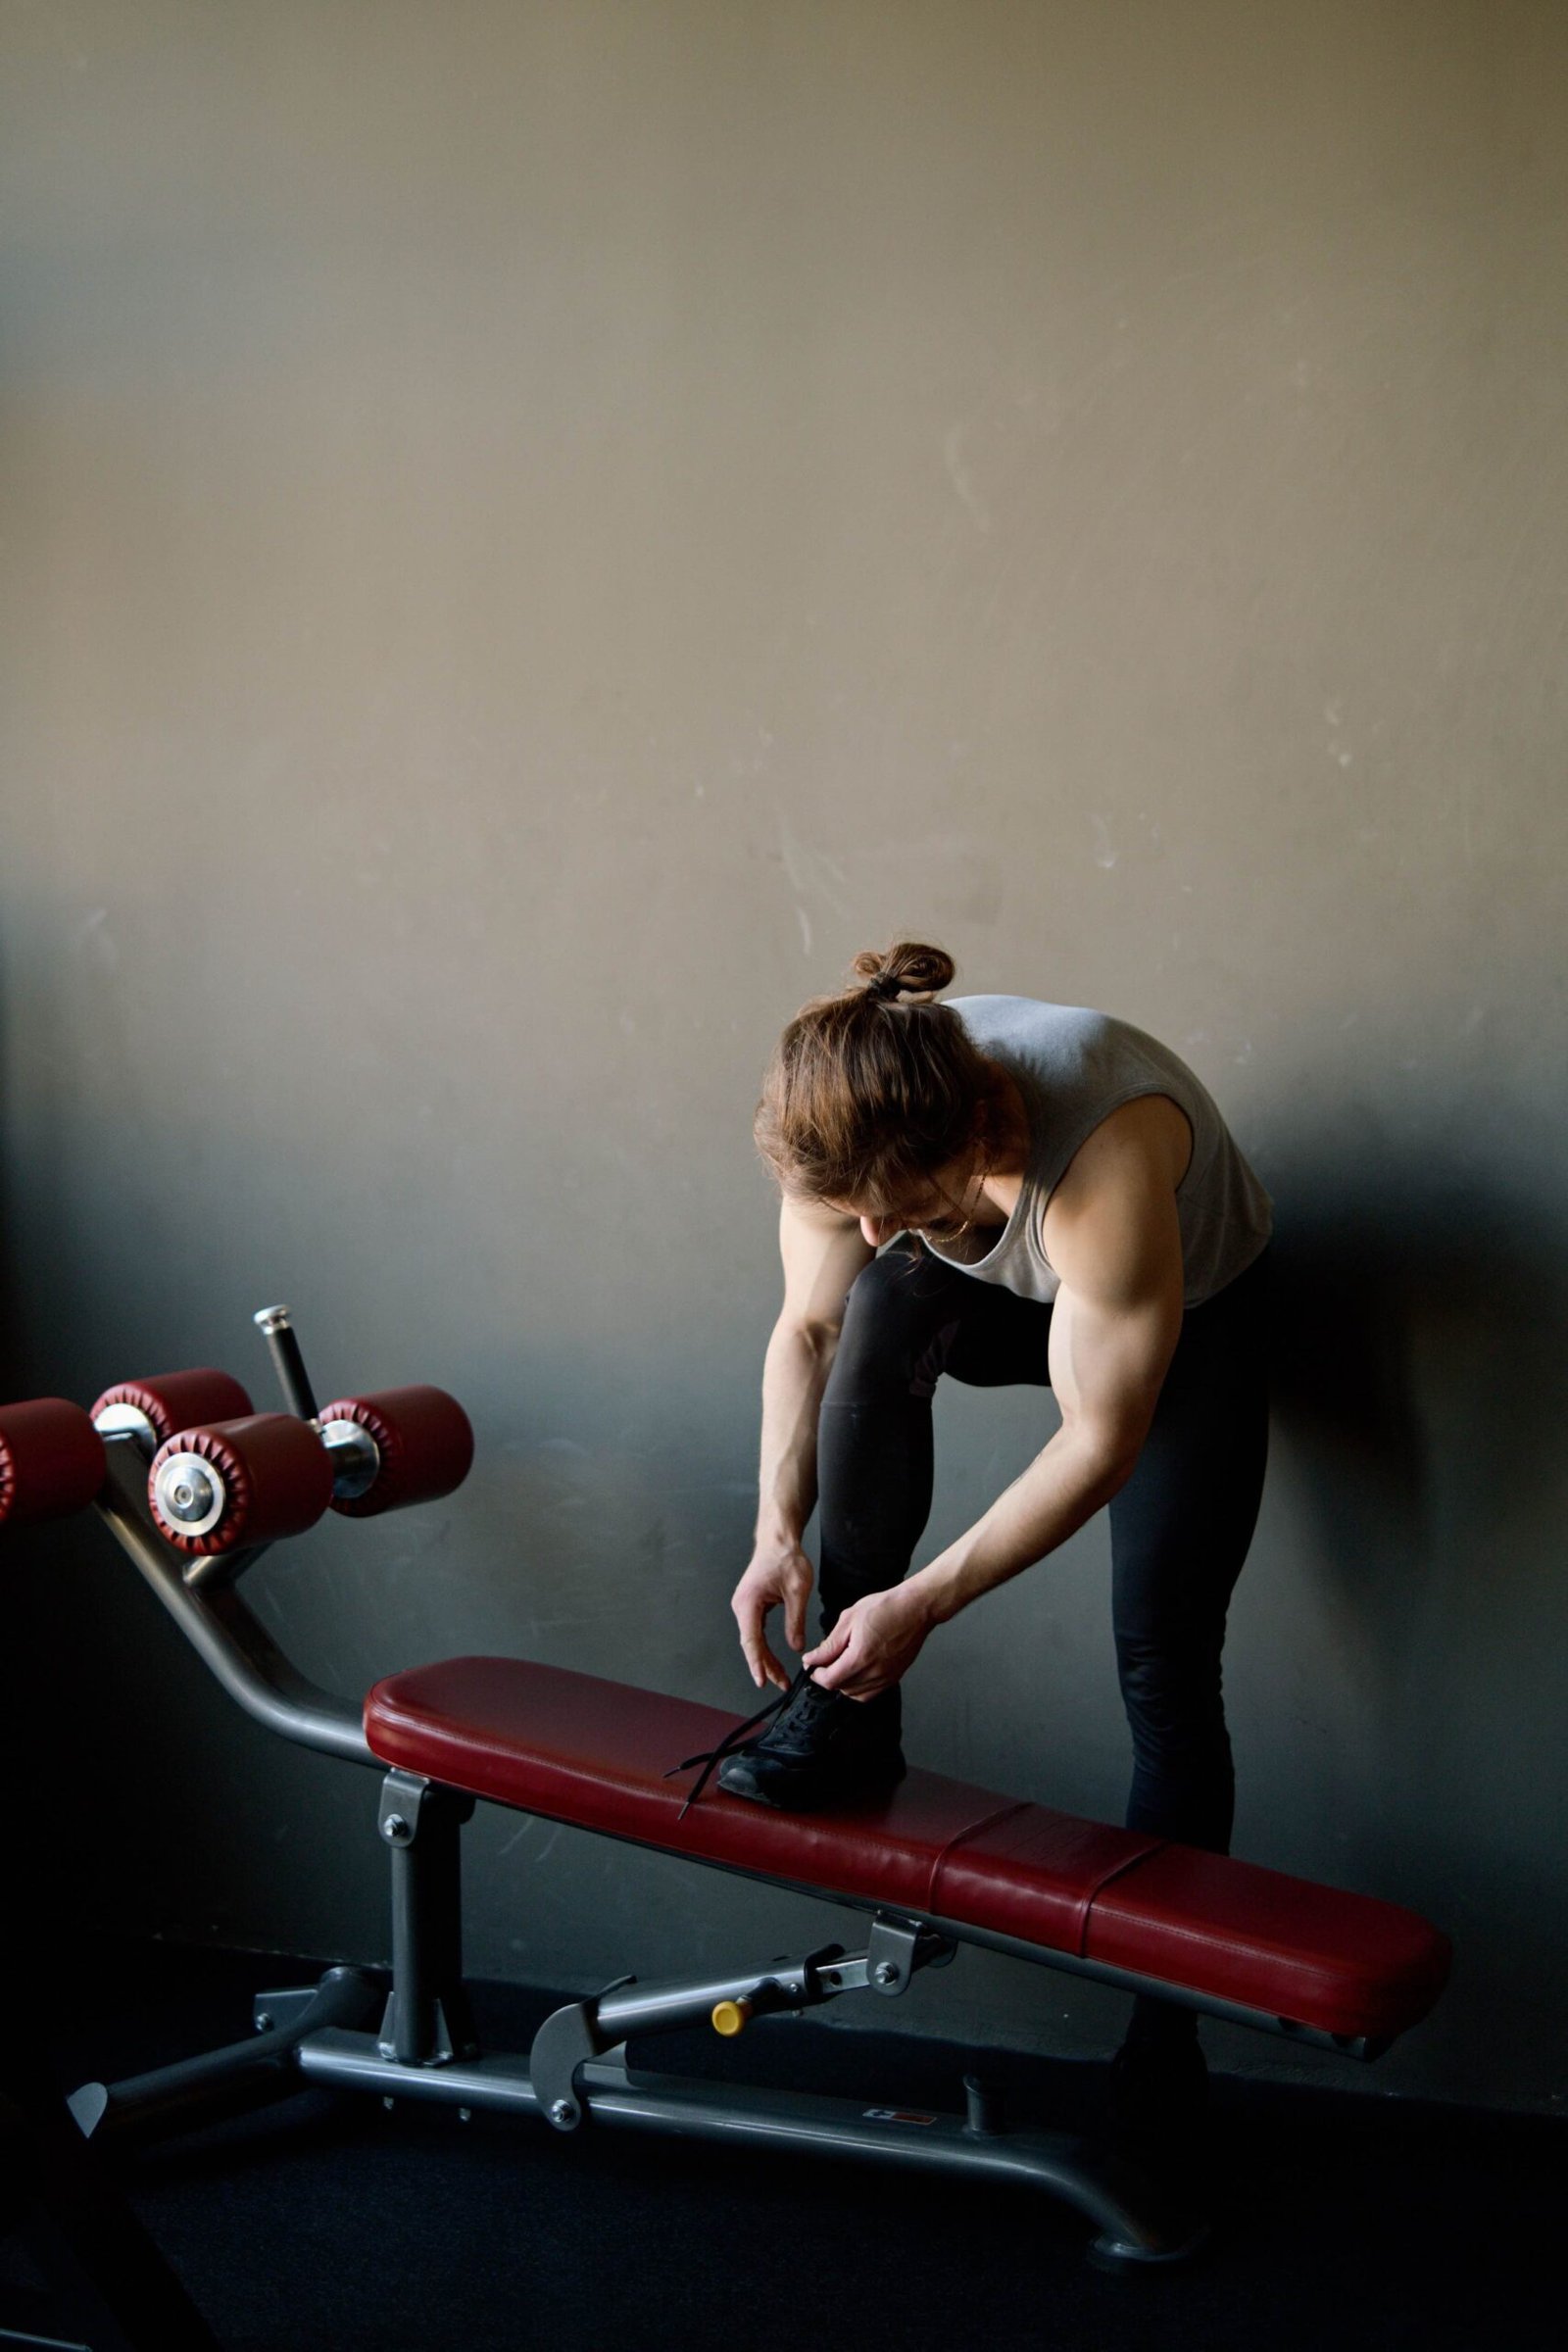
A simple gym routine can be as easy as doing two full body workouts each week, using a handful of exercises that you practice and repeat. The four-week plan below includes five machines or cable stations and one floor exercise. You’ll also find a printable log to track your setup, weights, and reps.
During your first visit, you might spend more time adjusting the seat than actually exercising. Give yourself permission to take that time. Finding the equipment, asking staff for help, and remembering your settings are all normal parts of getting started.
This first month is all about getting comfortable with a routine that works for you. If you need more time, feel free to repeat a week.
What’s in this beginner gym workout?
Perform the same six exercises on two days that aren’t back-to-back, like Monday and Thursday. Make sure to have at least one full day between strength sessions. Each workout should take about 30 to 45 minutes, including your warm-up. Your first session might take a bit longer while you get used to the equipment.
| Exercise | Main areas involved | What to learn first |
| Seated leg press | Thighs and hips | Seat position and a controlled range |
| Seated leg curl | Backs of thighs | Pad placement and a steady seated position |
| Seated chest press | Chest, shoulders, arms | Handle height and wrist position |
| Seated cable row | Back and arms | Pulling without rocking your torso |
| Machine shoulder press | Shoulders and arms | A comfortable grip and supported posture |
| Dead bug | Trunk control | Moving an opposite arm and leg without arching your back |
These are your main exercises. The number of sets and reps will change each week, following the progression table below. A rep means one full movement, and a set is a group of reps before you take a break. Warm-up sets are different from your main sets.
This plan is designed as an introduction for generally healthy adults, based on exercise guidelines. It’s not an ACSM-approved program or meant for rehabilitation. If you have a health condition, injury, are pregnant, or have had surgery, please get advice that fits your situation before starting any general program.
If you still need to pick a gym or organise an orientation, have a read of how to start off going to the gym prior to your first training visit.
Why start with two full body sessions?
The ACSM 2026 resistance training guidelines stress the importance of regular participation, training the major muscle groups at least twice per week and tailoring the programme to the individual. They also state that training to muscular failure is not necessarily required for the average healthy adult.
With this plan, two sessions a week let you practice regularly without needing a different workout for each muscle group. In the first two weeks, you’ll do fewer sets so you can focus on learning the movements. This is just a starting point and may not be the best plan for every goal.
Choose a weight that lets you finish each set feeling like you could do two or three more good reps. There’s no need to test your maximum. If you find yourself jerking, leaning, or holding your breath on the last rep, lower the weight or stop the set early.
Your four-week progression table
Use the same targets at both sessions within a week. For the dead bug, the reps are per side (5 on the right, 5 on the left) so one set of five per side.
| Week | Sessions | Each of the five machine/cable exercises | Dead bug | Main task |
| 1 | 2 | 1 set of 8 reps | 1 set of 5 per side | Learn the setup; use light loads |
| 2 | 2 | 1 set of 10 reps | 1 set of 6 per side | Keep loads steady; add reps only if ready |
| 3 | 2 | 2 sets of 8 reps | 2 sets of 5 per side | Add a second set while keeping control |
| 4 | 2 | 2 sets of 8-12 reps | 2 sets of 5-8 per side | Build reps within the range |
Think of the calendar as a guide, not a strict deadline. If a week’s target feels too hard, your technique isn’t solid yet, or you need more recovery, it’s fine to repeat an earlier week. Each of the five resistance exercises uses different weights, so you don’t need to use the same setting for every machine.
Week 1: Record the settings, not just the weight
Ask a staff member to show you how to adjust the seat, pad, range of movement, and how to secure the weight pin on each machine. Write down the machine’s name and your settings. For example, a note like “chest press, seat 4, starting position 2” will make your next visit much smoother.
Begin with a light weight and aim for 8 controlled reps. If you can’t do 8 with good form, use less weight. The numbers on each machine are unique, so don’t compare them to other equipment or other people’s workouts.
Week 2: Practice the same movements
Try doing ten reps with the same weight. If your form changes on the last two reps, drop back to eight or lower the weight. Don’t add new exercises just because you’re getting used to the routine.
Remember to breathe during every rep. The Mayo Clinic’s weight training guidelines recommend learning proper technique, not holding your breath, and lowering the weight or reps if your form slips.
Week 3: Add the second set when ready
Go back to 8 reps and add a second set. Rest for about 90 to 120 seconds between sets or exercises, or longer if you need more time to keep your form. For the dead bug, 60 to 90 seconds of rest should be enough.
Keep your weights the same at first. If the second set feels too hard, lower the weight or repeat Week 2. Finish all sets for one exercise before starting the next—you don’t have to do the exercises as a circuit.
Week 4: Add reps before chasing heavier weights
Aim for 8 to 12 reps on the machines and 5 to 8 per side for the dead bug. Only add a rep if you can keep good form and still have 2 or 3 reps left in reserve. Your two sets don’t need to have the same number of reps.
For example, you might do 10 reps in your first set of chest presses and 9 in your second. This is more helpful than just writing “2 x 10” if you didn’t actually complete all the reps. This is just an example log entry, not a real result.
How should you warm up?
Begin with 5 to 10 minutes of easy walking or cycling at a pace that feels good. Before each main exercise, do a few reps with a very light weight to check your seat and movement. The goal is to get ready, not to tire yourself out.
Machines can be different, so always follow the instructions on the one you’re using. If you’re unsure, ask for a demonstration. Adjust the machine only when the moving parts are at rest and keep your hands away from the weight stack.
If you’re choosing between walking, cycling, or other equipment, our guide to cardio options at the gym explains the main choices. Remember, a gentle warm-up is not the same as a tough cardio workout.
How do you perform the six exercises?
These brief tips will help you remember each exercise after you’ve learned the setup. They won’t cover every possible machine or movement, but they’re a good starting point.
1. Seated leg press
Sit with your back and hips supported. Both feet on the plate with your heels down. Press smoothly, stop well before your knees lock, then return as far as you can without your hips lifting or your lower back rounding.
The ACE seated leg press guide shows a supported set up and a controlled return. Have the staff help you select your starting position on your gym’s machine.
2. Seated leg curl
Ask the staff to fit you with the backrest, the thigh restraint, the lower leg pad and the starting range. With your thighs secured and your hips remaining on the seat, bend your knees to operate the padded lever and then slowly return. Don’t bounce the weight stack.
Pad adjustments can be different depending on the brand. Don’t try to figure out the restraints on your own. Always use the machine’s instructions and ask for a demonstration if needed.
3. Seated chest press
Set the seat so the handles begin around mid-chest, back supported and feet stable. Hold the handles with your wrists in line with your forearms. Press forward without shrugging, arching or snapping your elbows straight and return with control.
ACE’s chest press instructions show the supported position. If the starting range on the machine feels too deep for your shoulders then stop and ask the staff to adjust it.
4. Seated cable row
Place your feet firmly on the supports and start with your torso upright. Pull the handle towards your lower ribs or upper abdomen as you move your elbows back. Keep your torso still and then allow your arms to extend without being pulled into a slump.
Check out ACE’s seated row guide for a visual example. If you find yourself rocking backward to move the weight, lower the weight.
5. Machine shoulder press
Choose a machine with a comfortable grip so that your elbows are slightly in front of you. Set the handles to start at around shoulder height. Keep your back well supported as you press up and lower slowly without any arching to complete the movement.
ACE’s close grip machine shoulder press is a good example of this setup. If pressing overhead feels uncomfortable, skip this exercise and ask a qualified trainer for a better option.
6. Dead bug
Lie on a mat with your knees bent and lifted over your hips and your arms reaching up. Slowly lower one heel and the opposite arm down towards the floor, then return and switch sides. Keep breathing and if your lower back starts to arch, just shorten the reach.
The ACE dead bug guide shows an easier version. If you can’t keep your trunk steady, ask your trainer to help you with your starting position.
How do you know when to add weight?
With this plan, wait until you can do 12 controlled reps in both sets of a machine exercise at two sessions in a row, still feeling like you could do 2 or 3 more reps. Then, try the smallest weight increase next time and start back at 8 reps. This is a gradual way to progress, and you don’t have to increase every week.
If the smallest weight increase is too much, stick with your current weight and ask the trainer about other options for that machine. Don’t add makeshift weights to the stack. For the dead bug, focus on keeping your movement controlled instead of adding extra weight in the first month.
Do men and women need different beginner gym routines?
Both men and women can follow the same basic plan. Pick your exercises and weights based on your experience, comfort, available equipment, and goals. Women might include upper body work, and men might start with machines. There’s no need to set a starting weight based on gender.
If a machine doesn’t fit your height, reach, or mobility, ask for an alternative. Not being able to use a certain seat doesn’t mean you’ve failed. Your personal situation, like pregnancy or postnatal recovery, might require a different approach, so get professional advice if needed.
What about cardio, the soreness and missed sessions?
This is an introductory strength plan, not a complete weekly activity prescription. You can build comfortable walking, cycling, or other aerobic activity around it, without adding hard intervals just to make the first month feel demanding. NIDDK’s activity guidance recommends starting slowly and building activity over time.
If you’re still quite sore or not moving quite normally by the next session then do less or allow more recovery. Sharp pain or joint pain is a reason to stop an exercise rather than just carry on and do the planned reps. The NIDDK safety advice is to stop if you have symptoms of dizziness, faintness or chest pain. Get appropriate medical help for any severe or concerning symptoms.
If you miss a workout, just pick up again at a level that feels right for you. Don’t try to make up for missed sessions by doubling up or doing strength workouts on back-to-back days.
Download your four-week beginner gym plan
Download the free four-week beginner gym workout plan and log (PDF).
The 5 page printable contains the exercise list, the progression table and a log for each week. Each weekly page has space for two sessions (load, actual reps, machine settings and notes). Dead bug reps are to be recorded per side. BW means bodyweight.
After four weeks, look at what you can set up and how the schedule fits your life. You can keep going with two days a week. If you want to try a new routine later, our three-day full body workout guide offers another option you can adjust. You don’t have to move to a higher volume program right away.
You can also explore the MindMerge Wellness library for more general wellbeing resources. For your next gym session, keep it simple: bring your plan, check one setup, and write down what you do.
Sources
- American College of Sports Medicine. Updated resistance-training guidance, March 17, 2026. Used for training frequency, individualization, and the role of training to failure. The four-week schedule is an original editorial plan, not a reproduction or endorsement by ACSM.
- Mayo Clinic. Weight training: Do’s and don’ts of proper technique. Used for breathing, form, rest between training days, and seeking instruction.
- American Council on Exercise. Exercise-library guides for leg press, chest press, seated row, machine shoulder press, and dead bug. Used for the corresponding technique cues.
- Life Fitness/Cybex. Seated leg-curl equipment information. Used to verify the presence of adjustable lower-leg and thigh supports; readers should follow their own machine’s instructions.
- National Institute of Diabetes and Digestive and Kidney Diseases. Tips for Starting Physical Activity and Tips to Keep Moving. Used for gradual progression, adapting activity to health needs, and warning symptoms. Sources accessed November 2, 2026.

Hi, I’m Brittany Larsen, a passionate blogger and content creator dedicated to writing meaningful and engaging articles. I specialize in topics like mental health, wellness, and personal development, aiming to inspire and empower my readers through relatable stories and practical advice.